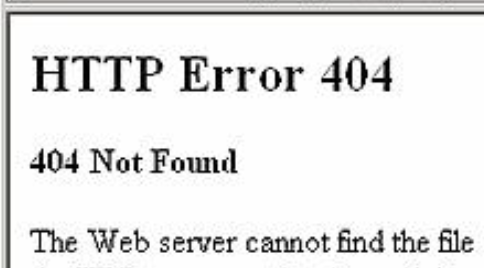
Changes submitted to pages (or other assets) while logged into Cascade are saved, but are only public until you actually Publish those updates. You may be able to verify that your latest edition was saved if other users that are also logged are able to view your latest updates, but only until you either publish that page, or the entire site, will those updates reflect on your live site.
Whether you are the only user making a small change to your home page or there are several users making changes to many assets throughout your site, Cascade must be instructed to publish those new editions whenever you are finished. It is best practice to publish the entire web site around the end of the work day in order for the most recent changes to reflect live.
SOLUTION: Publish your page, asset*, or entire site.
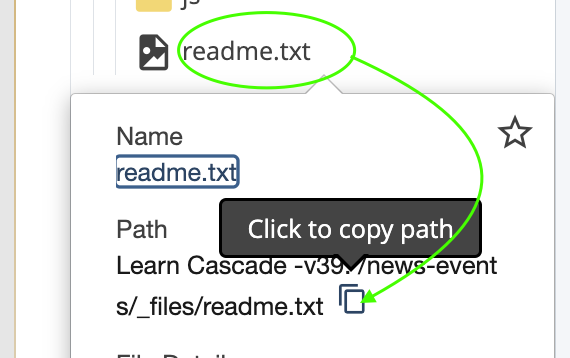
*Some assets (such as blocks) are not publishable individually. Instead, publish its parent folder or the entire site.
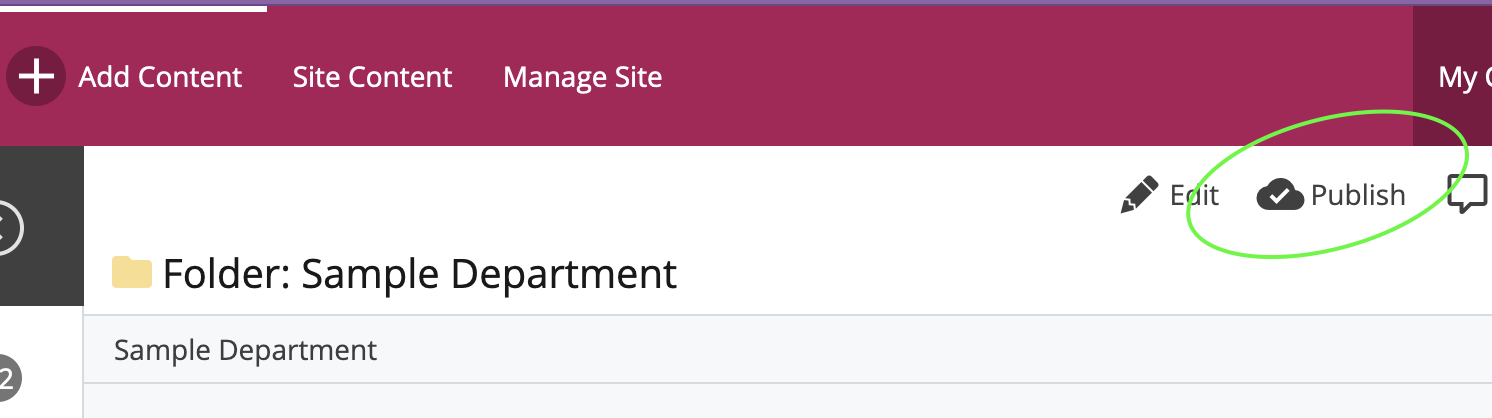
• To simply publish your current page, after saving your draft by clicking submit, click the Publish button to send the asset to the publishing queue. In a few minutes, the new data will be pushed online.
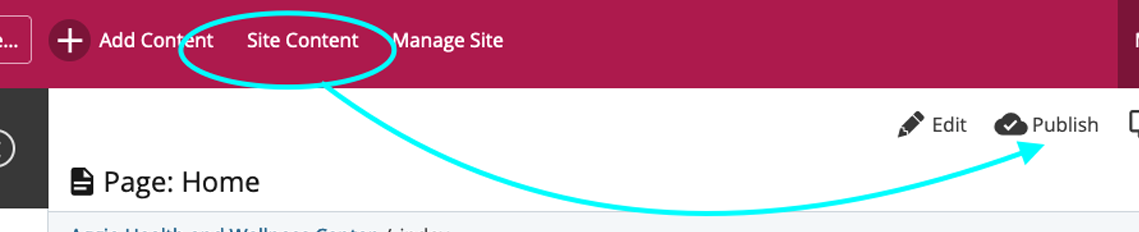
• To publish your entire website, click Site Contents (which takes you to your Root Directory), and then click the Publish button. Likewise, the site will be sent to the publishing queue, and its data will refresh online depending on the size of all the site files.
Another SOLUTION: Clear Your Cookies 🍪
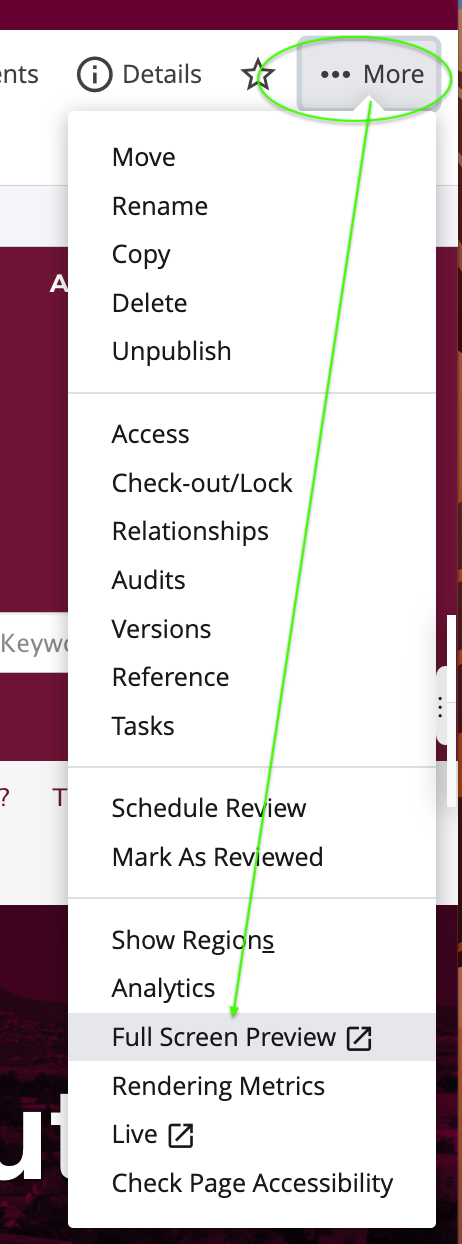
Publishing takes time, and not all web browsers refresh automatically when visiting a website repeatedly. Simply clicking Refresh on your default browser will not always load the freshest data.
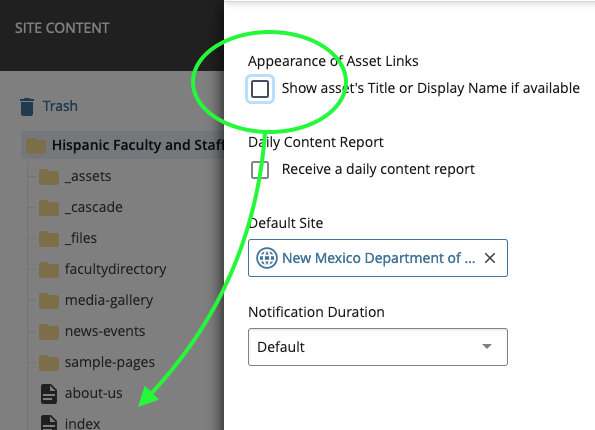
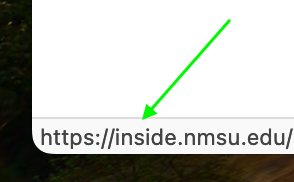
👉 For a better reviewing process, use an alternate internet browser that hasn't visited your site in a while, or clear your browser's cache so it will load the most recent data from the internet again.
Learn how to clear your cache depending on your browser (courtesy of The University of Iowa).
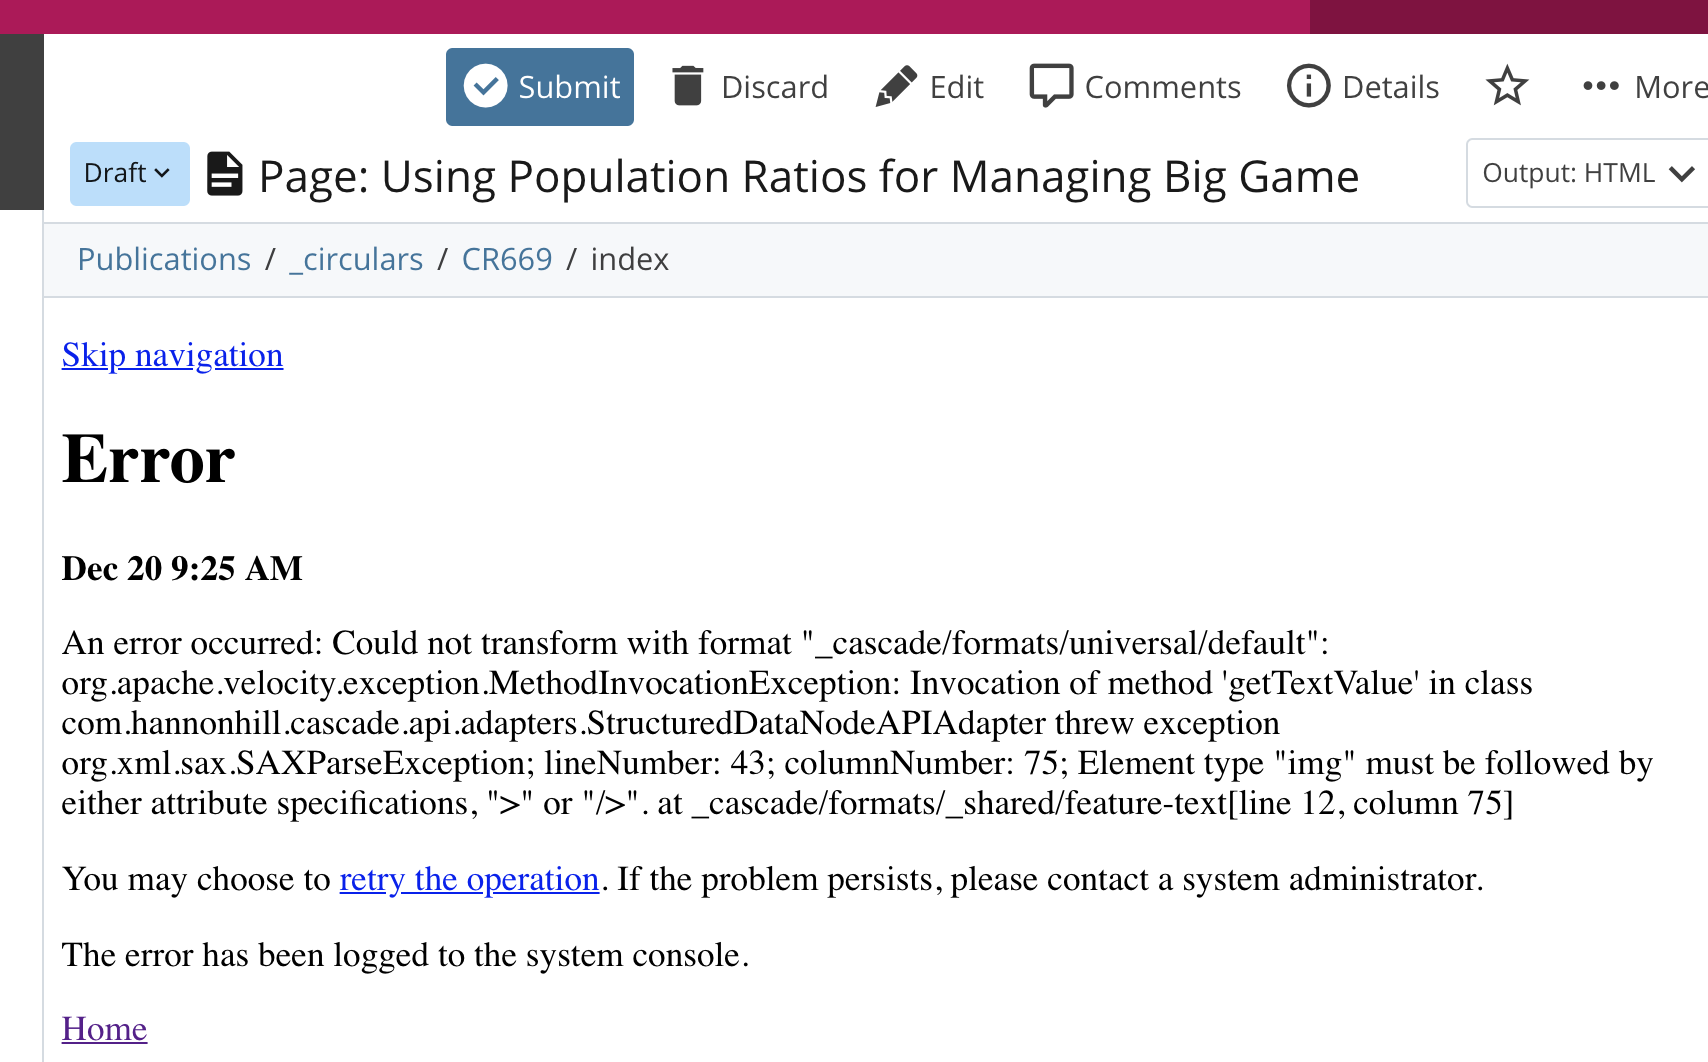
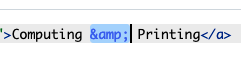
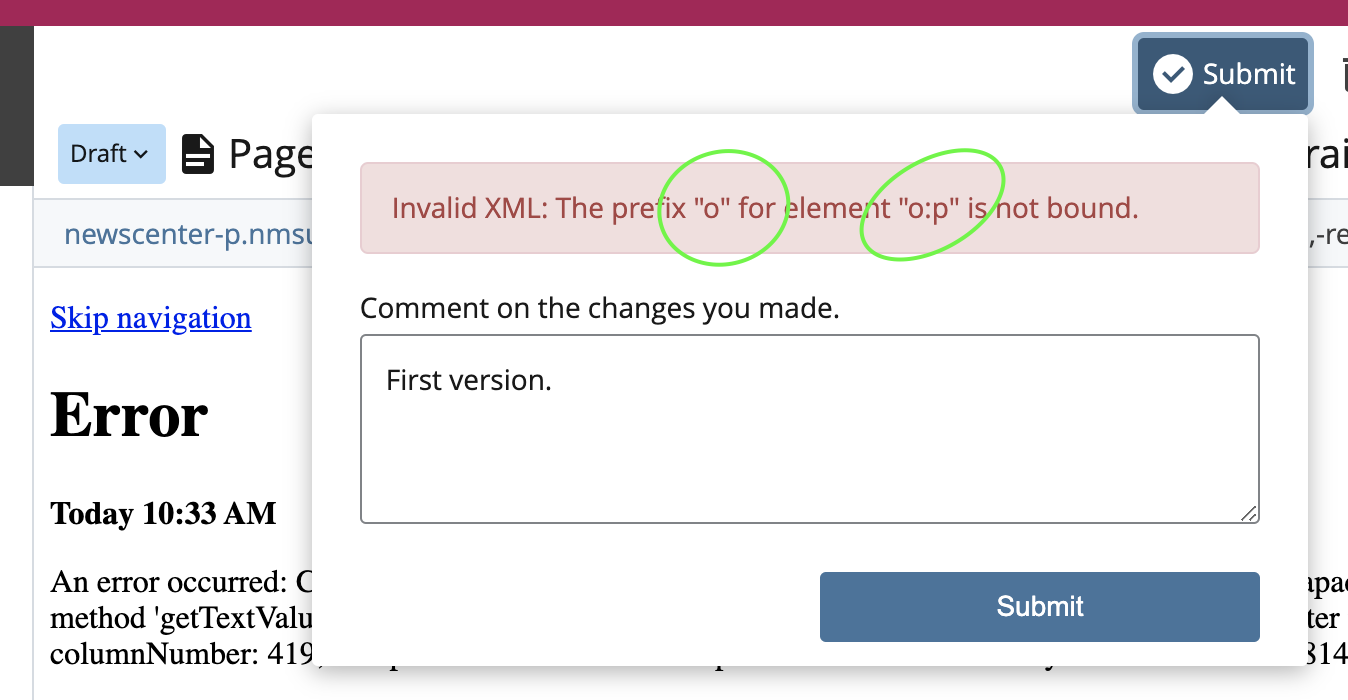
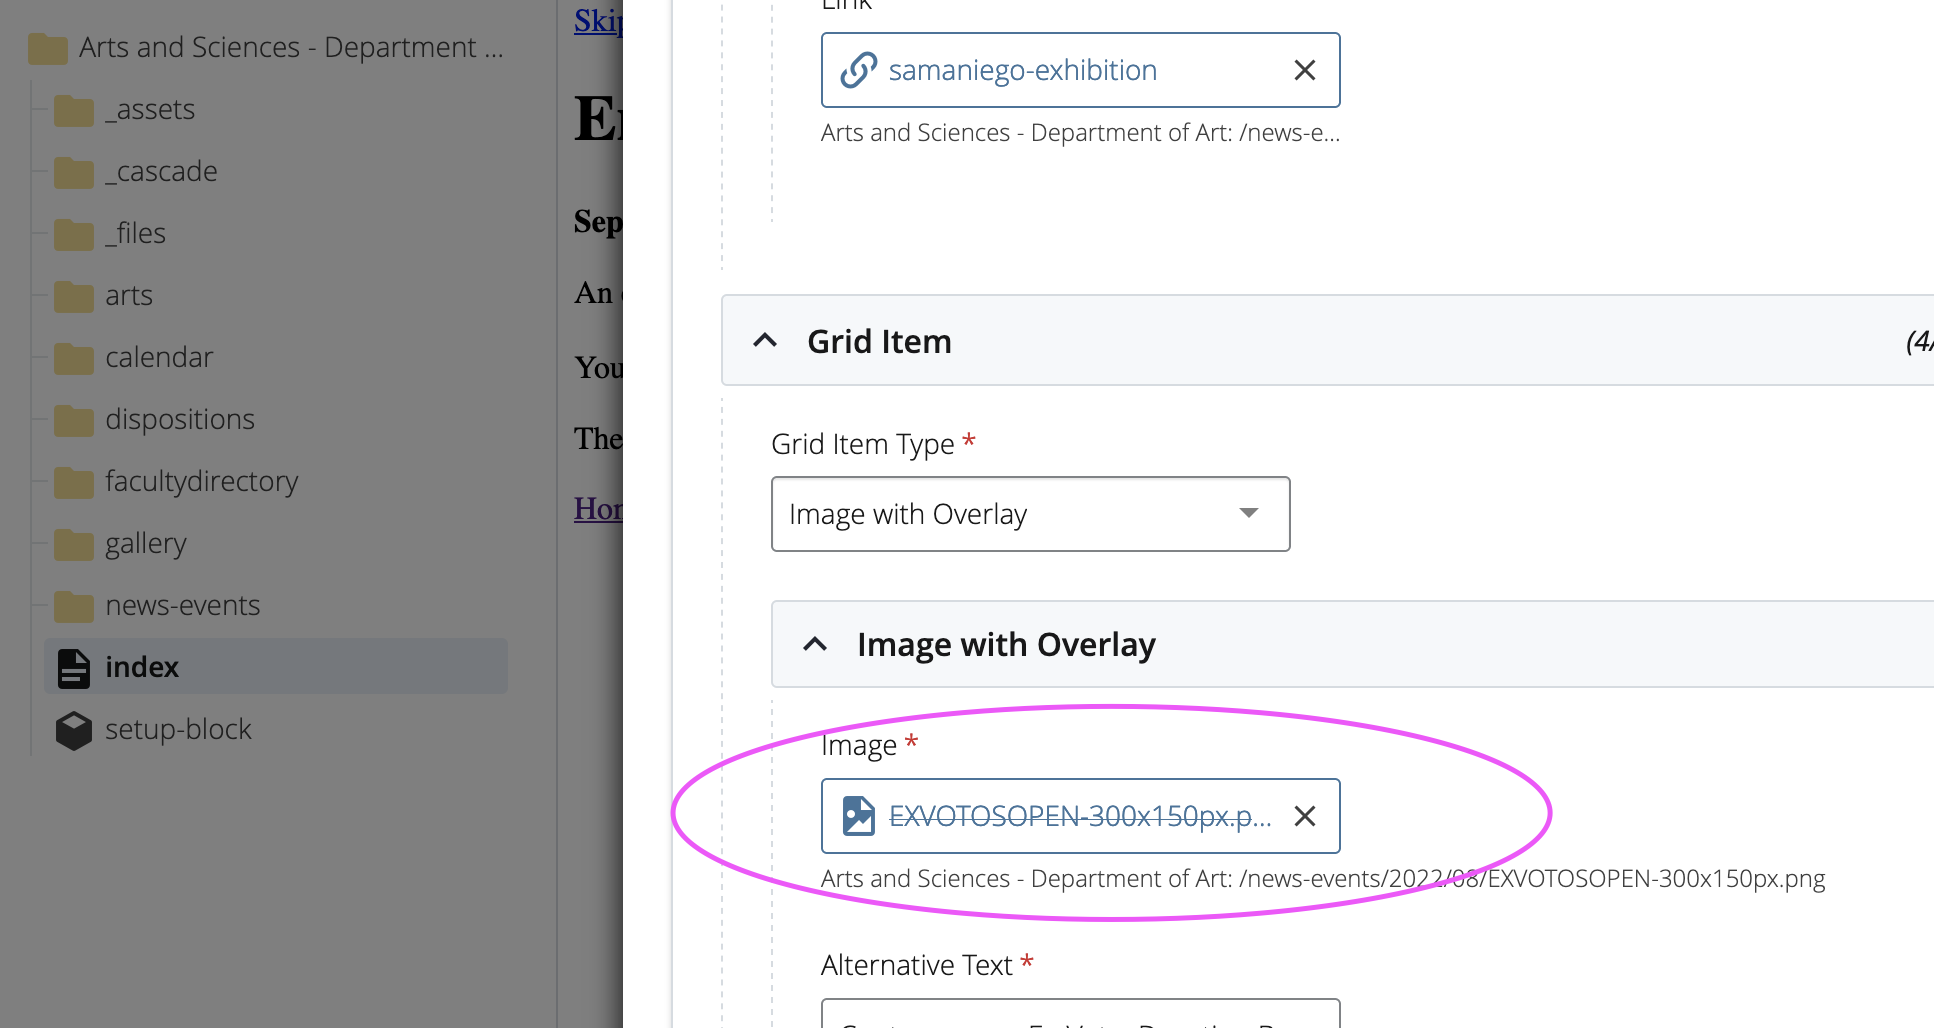
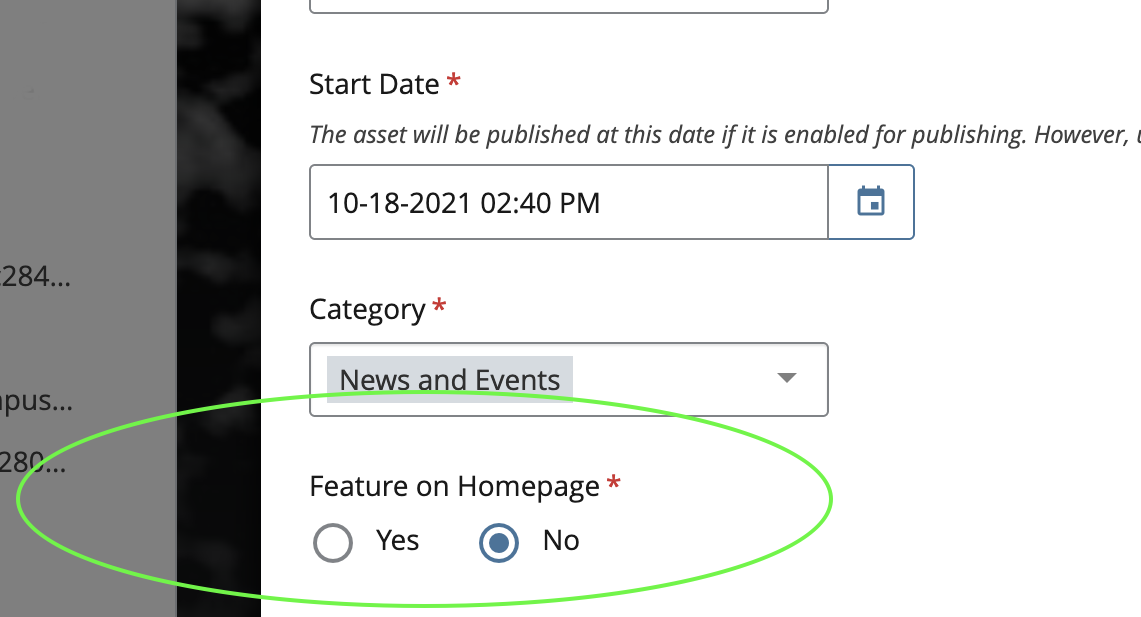
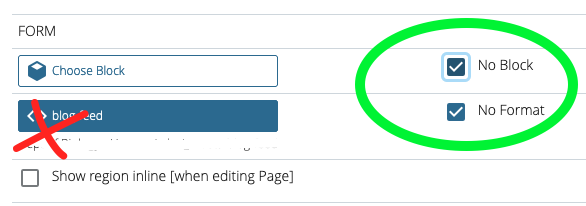
 The last item to have been edited is usually the asset responsible for an error. Perhaps a field that is required was left blank on the last page. Or a symbol like the ampersand (&) was used in the last block, or format.
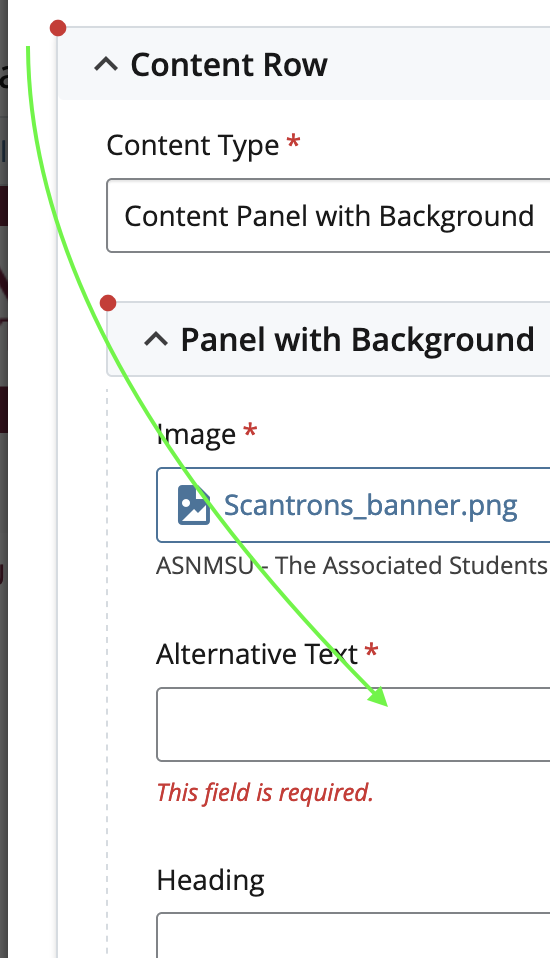 In many cases, a simple
 One known issue in Cascade is it's trouble rendering the ampersand character. The simple solution is to omit the symbol altogether and use the word ' and.'