After navigating to the correct directory in your site, notice the (+) Add Contents option in the upper left.
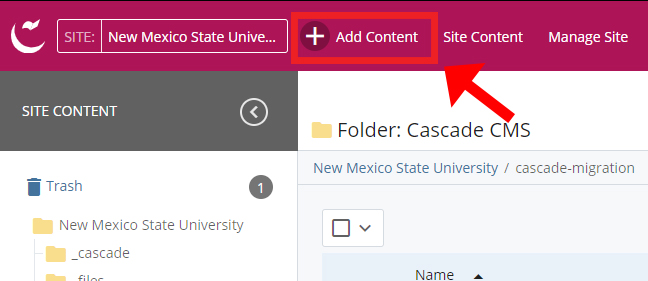
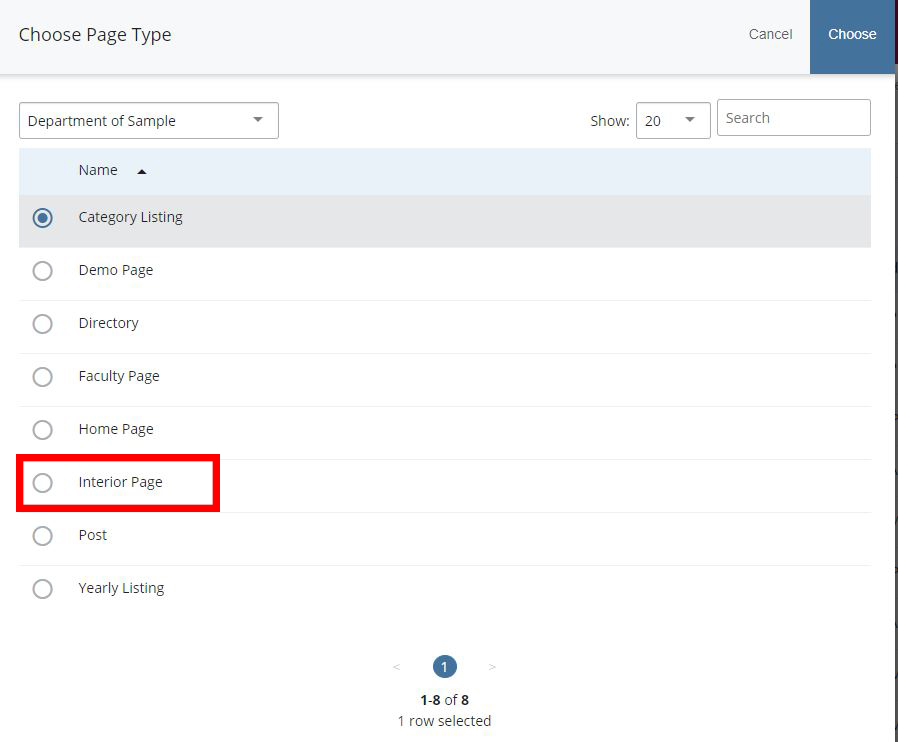
A pop up will appear showcasing all sorts of content you can add to the site. We will create a new page.

Fill in the information for the page in regards to the Page Name, Display Name (optional), and Title.
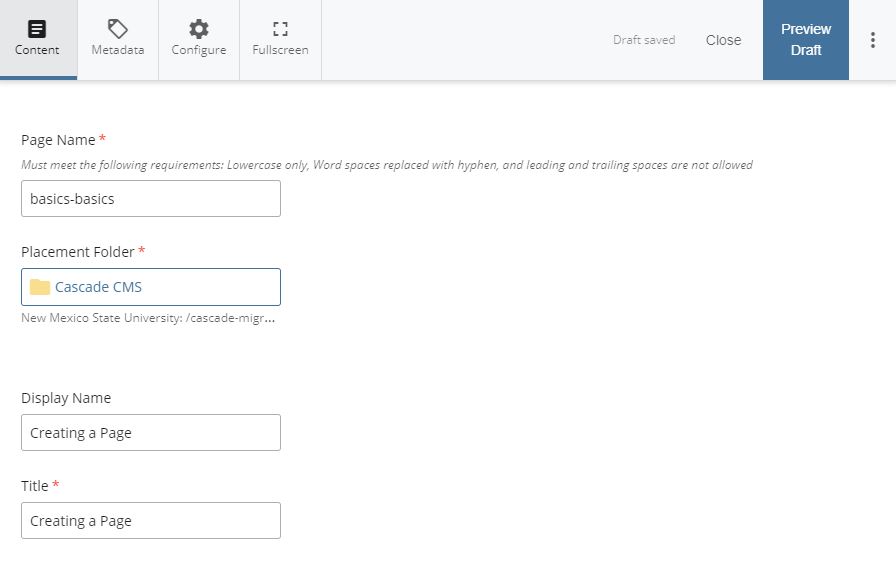
(Note: Page Name refers to what will appear in the site Content Panel and what google will search for. Name this what the contents of the page will be for easy understanding. Can only be lowercase. Will also appear in the url when it goes live.
Display name is an optional naming convention that appears in the sitemap or breadcrumb trails which link back to the index page. Usually the same as your Title.

Title refers to what will actually be displayed at the top of your webpage.
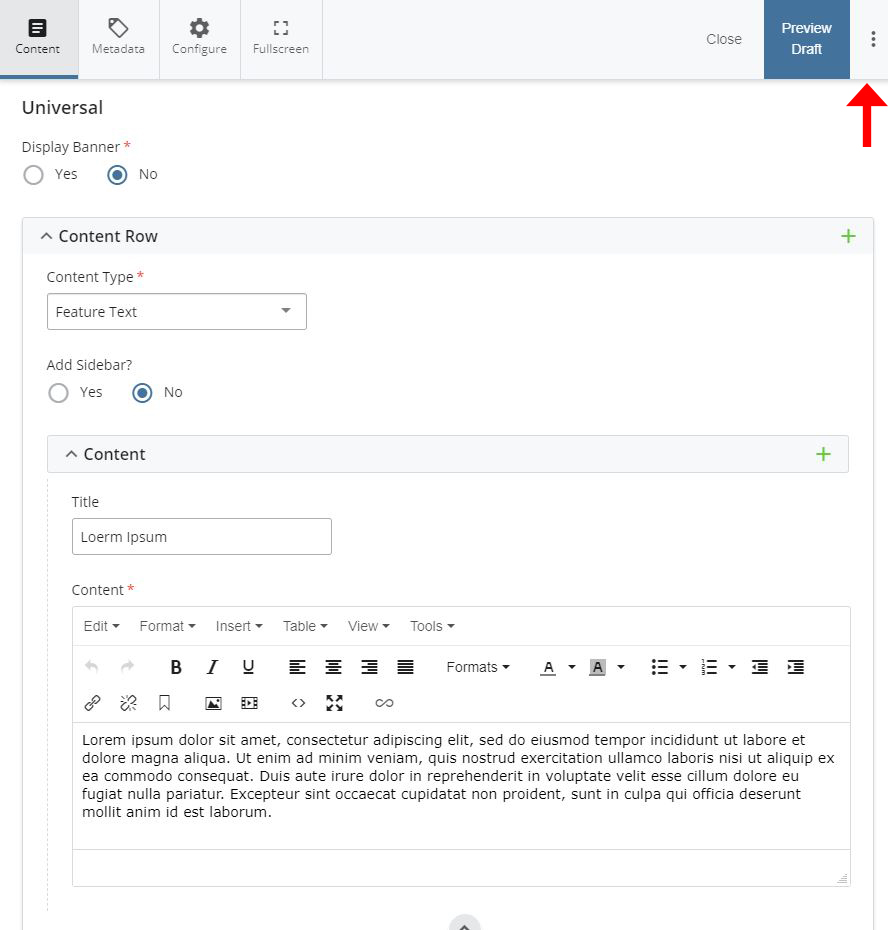
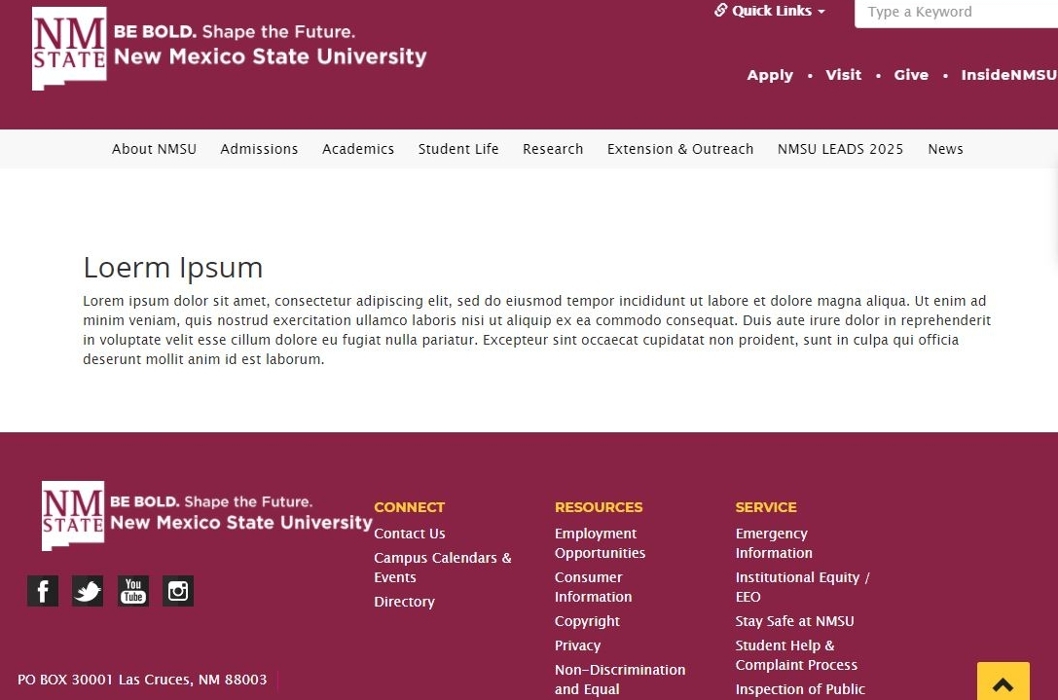
Scroll down to the Universal portion of the content page. Here you can add text to the page as well as banner images. Expand the Content Row and select Feature Text. Add desired content.
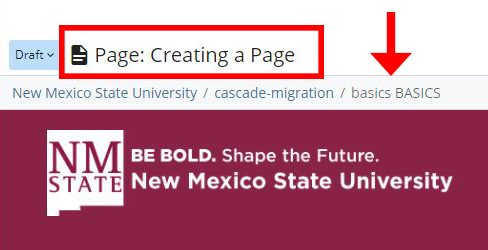
Once done adding any additional content, hit the preview button in the upper right to preview the page.
If happy with the outcome, select the three dots to the right and click submit.
Hooray! You've created your first page!