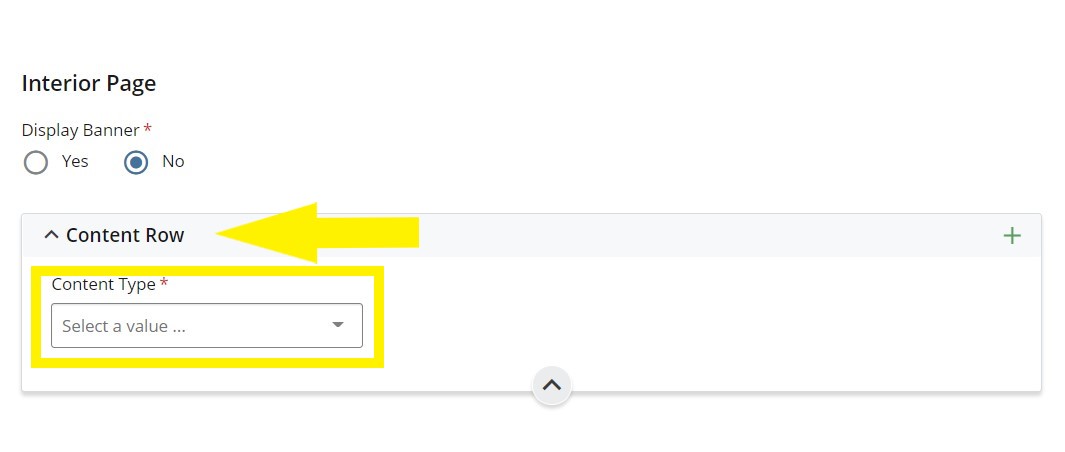
Scroll down to see the section that comprises the page. These are denoted by the large white circle and arrow. Depending on the page, you may see containers such as Slides, Content Row, or Banner, which are different ways of presenting information on a website.
Expand any segment by clicking the arrow to its left.
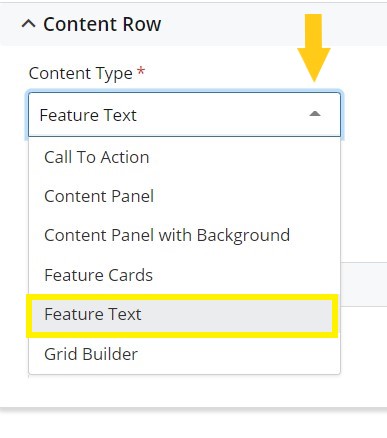
Click the content types to pick a specific way you may want the content to be presented
Pick a content type.
Each content type does something specific on how you would like your content to be displayed. Choose the one that best fits your needs
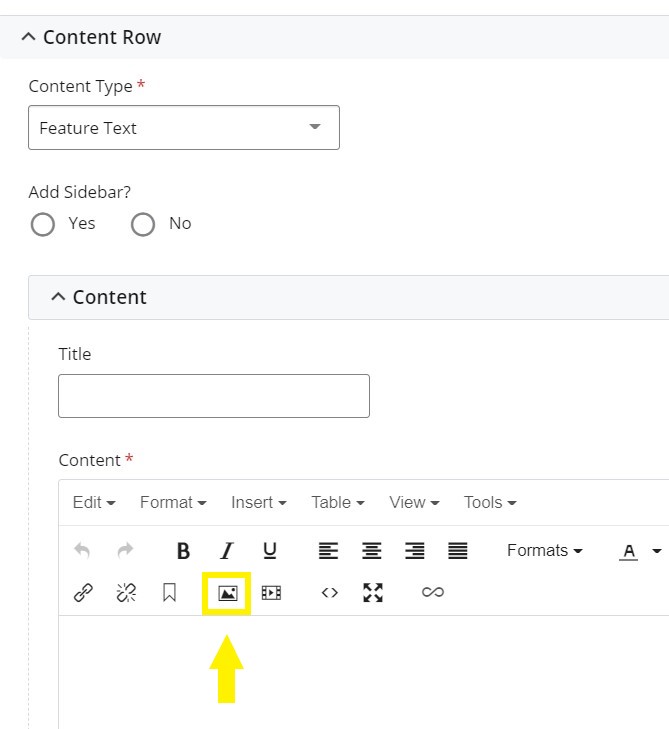
Once a content type is chosen the content bar should appear with a table of icons.
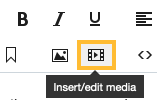
Click on the icon within the yellow square. This icon is used to add images.
(If you want to add a video, see below)
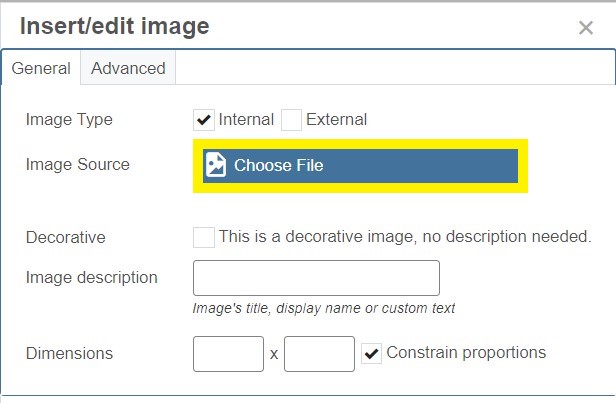
Once you click the photo icon, a pop up should appear that gives you the option to choose/import an image
Click on the image source option to Choose File
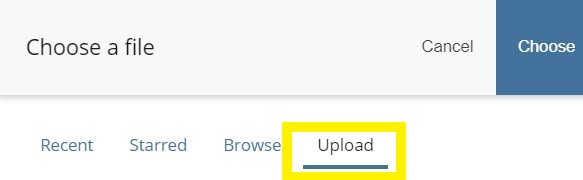
A Choose a file menu should come up on the right-hand side of the screen. You have a couple of options to choose from which are Recent, Starred, Browse, and Upload. Just like the names they each have a different function.
Recent: Choose an image you've recently used or uploaded
Starred: Choose an image that you have Starred
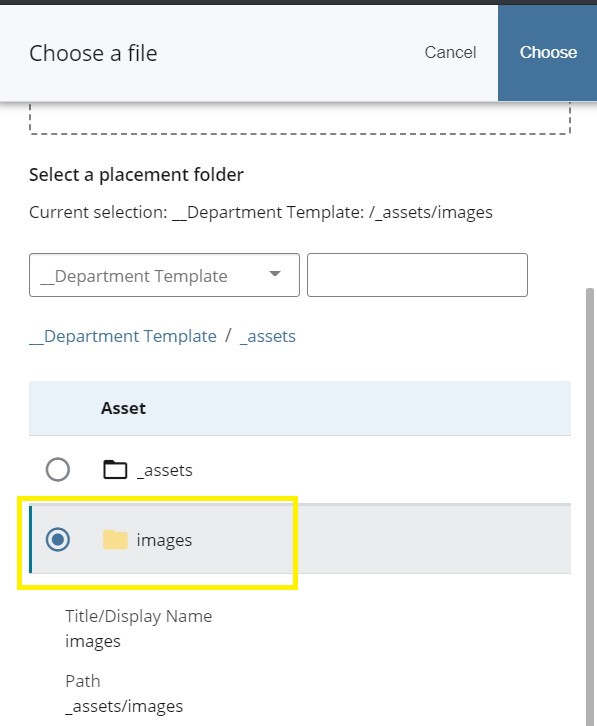
Browse: Choose an image from different folders of your site. In case you need to use an image already used/uploaded and you cannot find it
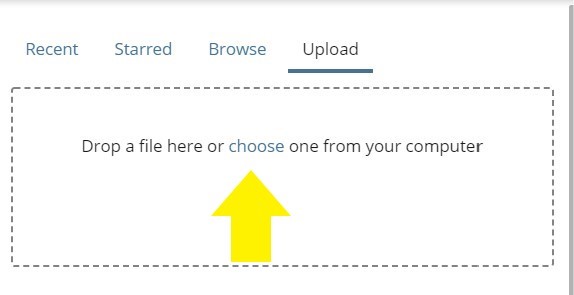
Upload: Upload an image from your computer
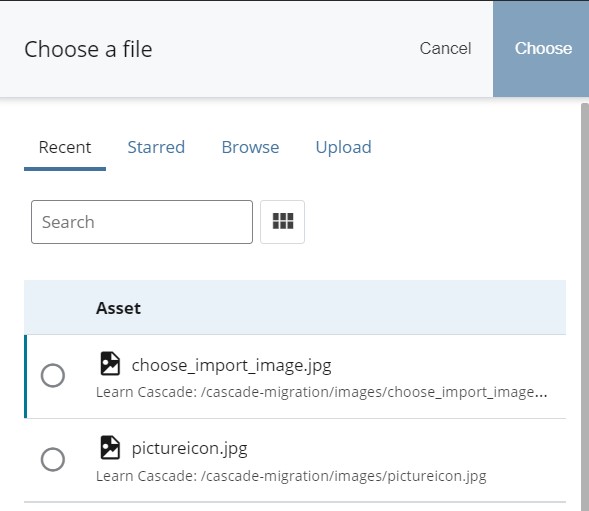
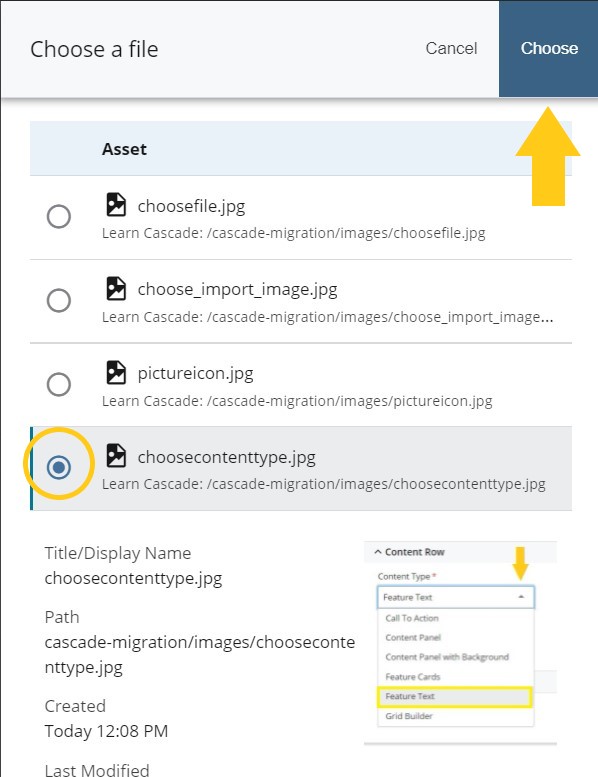
Recent, Starred, and Browse work the same way. Click the option you want and click the Choose button on the top right of the screen.
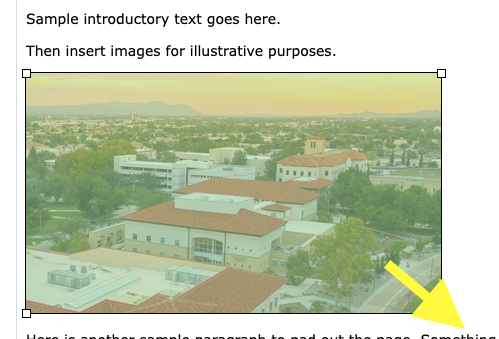
Once the picture is chosen, you can adjust the size.
👉 If you would like to make the size of the image flexible, input a percentage instead of a specific pixel dimension. (Example: 50% will make the pic take up half of the container at any given time)
After that click Ok and the image should appear
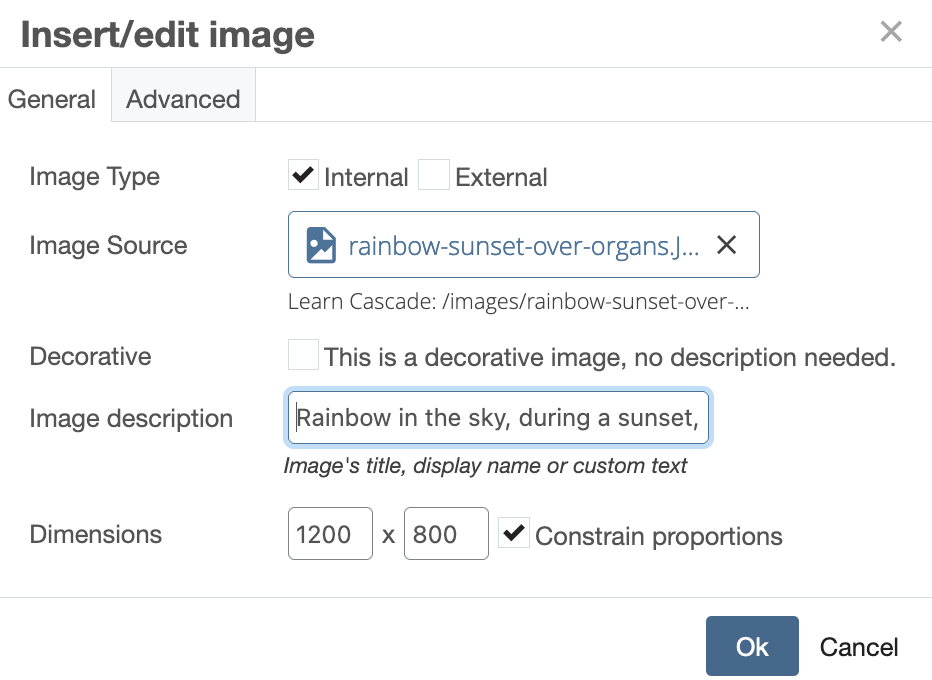
This is also the time to add ALT text, or an "image description," as it is refered to in Cascade. ALT text should be a meaningful description of the conveyed image, so as to be accurate and descriptive for accesibility purposes. For a helpful resource regarding ALT text best practices, see this helpful article: "Write helpful Alt Text to describe images" (courtesy of Harvard University)
 ← This image has a float style applied, allowing text to wrap around it. In this case, the picture "floats" left. There is also a margin being applied of 20 pixels on the right so the text doesn't touch the image.